
Gift box printing methods: choosing the right process
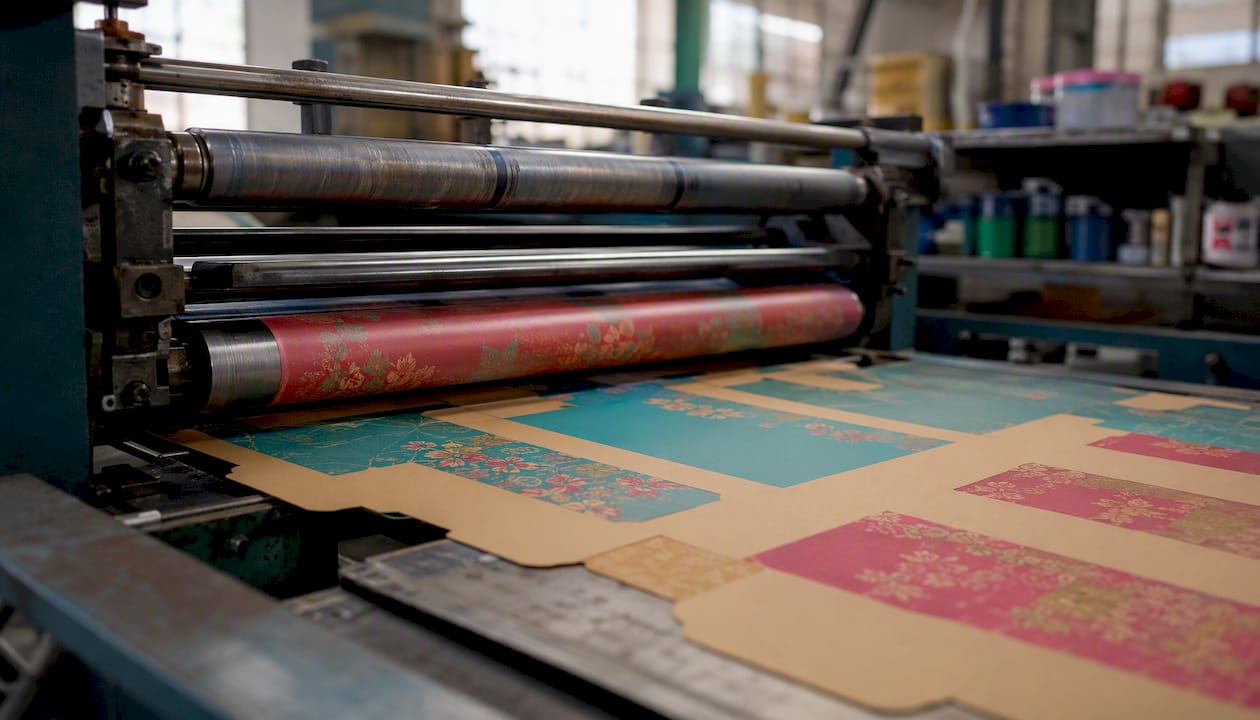
Six printing methods cover nearly every gift box brief you’ll ever write: flexographic, offset (litho), digital, gravure, screen printing and pad printing, with foil stamping and embossing handling the finishing touches… Choosing between them comes down to one question above all others: how many boxes do you need?
Short runs and personalised boxes (under a few hundred units): digital printing wins on speed and cost.
Premium folding cartons with photography or gradients: offset (litho) delivers the sharpest Pantone matching.
Large corrugated or transit-packaging runs: flexographic printing is the economical workhorse.
Spot effects like foil logos or embossed detail get added after the main print run, whichever method you’ve chosen.
Sustainability and lead time matter just as much as unit cost here. A rushed litho job with no proof, or an over-embellished box on cheap stock, both undermine the presentation you’re paying for.
Key Takeaways
The right gift box printing method depends primarily on run size and substrate, with digital suiting short runs, offset suiting premium folding cartons, and flexo suiting bulk corrugated orders.
Point | Details |
Match method to run size | Digital for short runs and prototypes, offset for mid-to-large premium orders, flexo for bulk corrugated. |
Separate printing from finishing | Foil, embossing and lamination are applied after printing and each carry their own cost line. |
Check substrate compatibility first | Kraft stock often needs a white underprint; corrugated frequently needs litho-lamination for bright graphics. |
Prepare clean prepress files | Vector logos, 300 dpi images, CMYK builds and a proper dieline with bleed prevent costly reprints. |
Restraint reads as premium | One well-executed finish, like a single foil logo, outperforms several competing effects on the same box. |
Sayheygifting matches method to brief | Uses digital printing for letterbox and seasonal runs, and offset with foil detailing for consistent corporate branding. |
Table of Contents
What is gift box printing and why the method matters
Gift box printing methods refer to the different industrial processes used to apply colour, imagery and branding to packaging substrates before or during box assembly. The industry term you’ll hear printers use is print process selection, and it’s a decision that shapes everything from your unit cost to how a logo actually feels under a thumb.
Get the process wrong and you’ll either overpay for a small run of Christmas letterbox gifts, or underwhelm a client with flat, lifeless colour on a folding carton that deserved better. Get it right and the box does some of the emotional work before the recipient even lifts the lid.
Flexographic printing: the workhorse for bulk and corrugated runs
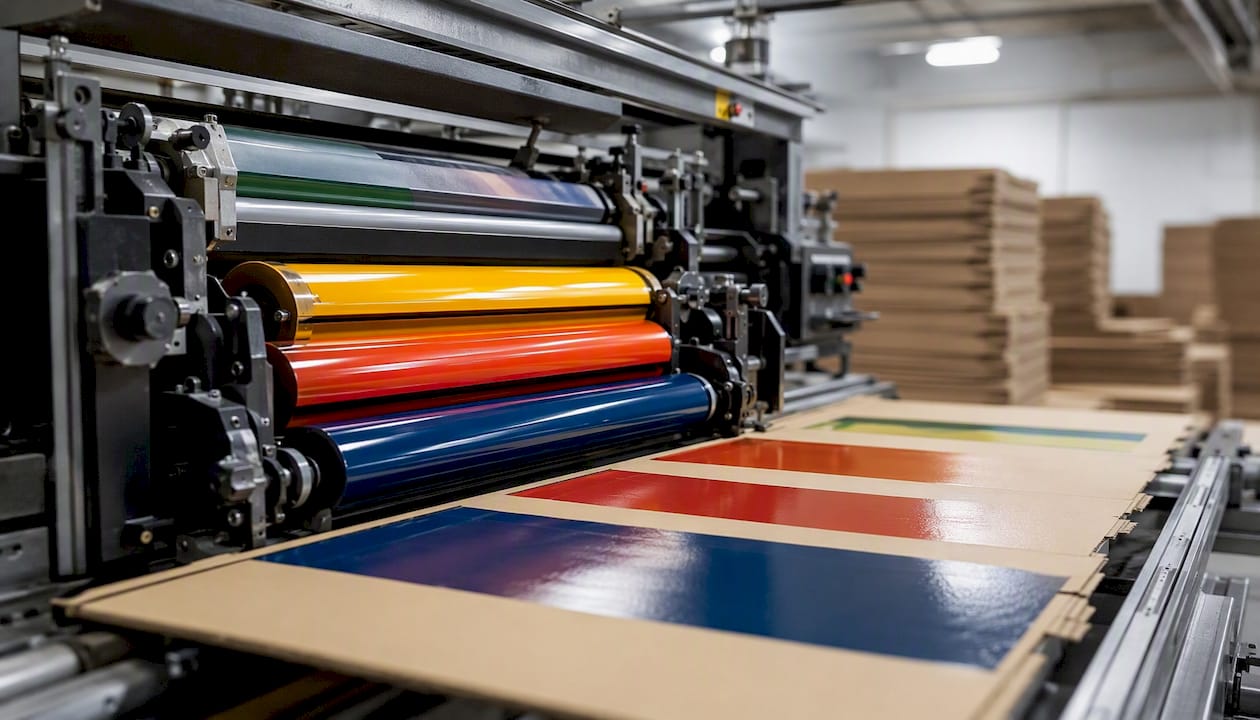
Flexographic printing, known simply as flexo, uses flexible rubber or polymer plates wrapped around a rotary cylinder, with an anilox roller metering a precise film of ink onto the plate before it transfers to the substrate. It’s a high-speed, continuous process built for volume.
Flexo suits corrugated board, films, tapes and flexible pouches far better than delicate folding cartons, which is why so much transit and outer packaging relies on it. The process handles bold, simple graphics beautifully but starts to struggle once you ask it to render fine photography or subtle gradients.
Strong Pantone matching for one to three flat colours.
Very low unit cost once you’re past the plate setup threshold.
Not the right tool for photographic detail or complex shading.
Typical minimum runs sit at substantial volume, with turnaround improving significantly as volume climbs.
If your gift boxes are corrugated shippers destined for hundreds of corporate recipients, flexo is usually where the conversation should start.
Offset (litho) printing: the standard for premium folding cartons
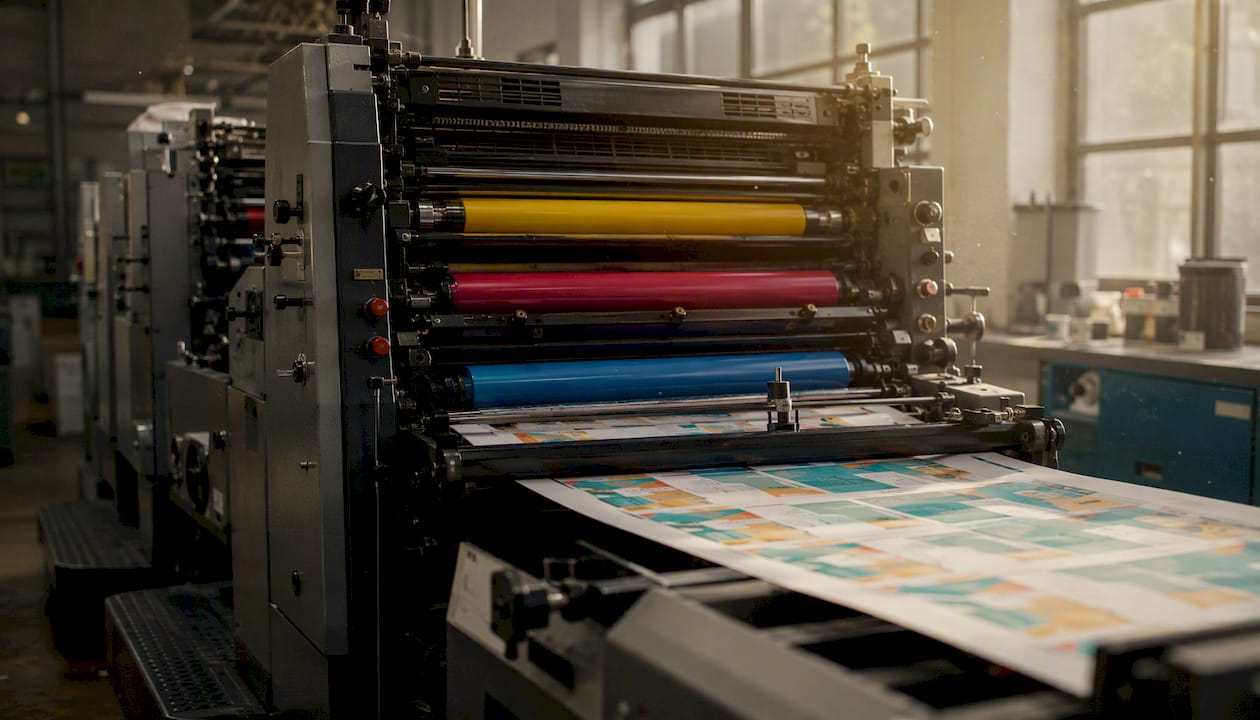
Offset, or lithographic, printing works by transferring an image from a metal plate onto a rubber blanket, then onto the substrate itself. That extra transfer step is precisely why it produces such accurate colour and crisp fine detail, making it the default choice wherever brand colour consistency actually matters.
Offset is the natural home for folding cartons, retail-ready boxes and anything carrying photography, gradients or fine typography. Because the press handles gradients, photographs and fine detail so well, it’s routinely paired with varnish, spot UV or lamination finishes to round out a premium presentation.
Exceptional detail and colour accuracy, especially for Pantone spot colours.
Cost per unit drops sharply at higher volumes, once plate setup is absorbed.
Plate costs make very short runs uneconomical.
Limited use on thick corrugate without laminating onto a litho-printed liner first.
For a corporate gift box that needs to carry a brand’s exact teal or navy without drifting, litho remains the benchmark.
Digital printing: fast, flexible, and built for short runs
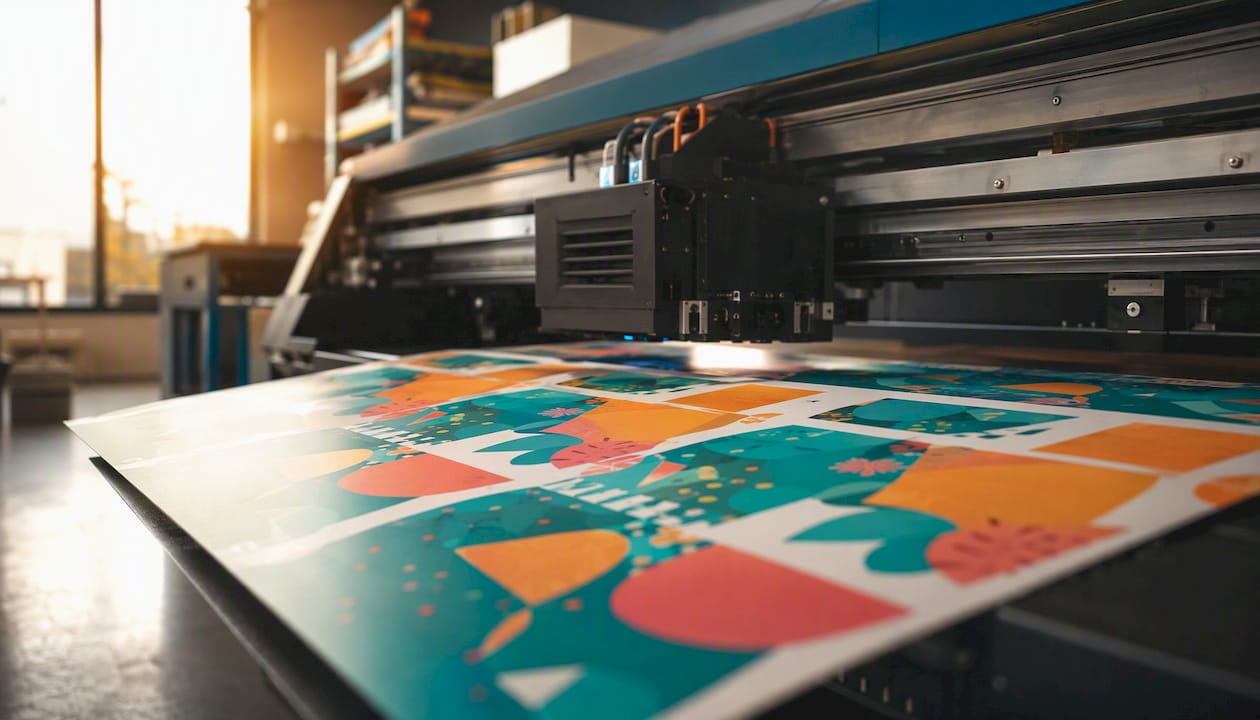
Digital printing skips plates entirely and prints straight from a digital file, which is exactly what makes it so useful for short runs, prototypes and variable data such as personalised names or seasonal messaging on individual boxes.
There’s no plate charge, so you get full CMYK colour whether you’re printing 20 boxes or 2,000, and last-minute artwork tweaks are simple rather than costly. Colour precision can sit slightly behind offset for exact Pantone spot matches, and some stocks show minor banding or softer saturation than a litho press achieves. That gap is closing fast: newer inkjet and HP Indigo-style digital presses are narrowing the quality difference for many everyday applications.
No plate setup cost, so short runs stay affordable.
Ideal for prototypes, seasonal drops and variable or personalised data.
Slightly less precise Pantone matching than offset on some substrates.
Switch to offset once a design proves itself and you’re reordering the same box in the thousands rather than the hundreds.
Gravure (rotogravure): where the volume justifies the cost
Gravure uses engraved cylinders, with ink sitting in tiny etched cells that transfer directly to the substrate. The result is genuinely excellent continuous-tone reproduction, but the cylinder engraving cost is substantial and only pays for itself across very long runs.
Best suited to flexible films and some high-end label work.
Justified only at volumes running into the millions of units.
Rarely relevant for typical gift box orders, corporate or otherwise.
Unless you’re commissioning packaging film at industrial scale, gravure will sit outside your realistic shortlist.
Screen printing and pad printing: speciality inks for unusual surfaces
Screen printing forces ink through a mesh stencil, laying down a noticeably thicker ink deposit that supports metallic, fluorescent and other special pigments that standard four-colour processes can’t replicate. Pad printing does something similar on a smaller scale, transferring ink via a soft silicone pad onto non-flat objects.
Excellent for bold solid colour, metallics and tactile ink layers.
Pad printing handles curved or irregular surfaces standard presses can’t reach.
Slower per unit and unsuited to photographic detail or fine gradients.
Works well on leatherette, acrylic, wood and other non-paper substrates.
Think limited-edition rigid boxes with a single striking metallic emblem rather than a full-colour scene.
Finishing touches: foil, embossing, varnish and lamination
Printing applies colour; finishing applies texture, sheen and dimension, and treating them as one decision is where a lot of gift boxes lose their impact. Common finishing options include hot-foil stamping, cold-foil application, spot UV, thick UV (often applied with digital finishing systems like Scodix), embossing and debossing, and soft-touch or gloss lamination.
Every one of these is applied after the main print run, which is why they carry their own separate cost line on a quote rather than being folded into the printing charge. For a lighter luxury tier, offset printing paired with partial cold stamping and a matte lamination often does the job. For high-end luxury, layering offset with digital UV texture, gilding and deboss detail creates a noticeably heavier, more considered feel.
Hot-foil and cold-foil for metallic logos and accents.
Spot UV or thick UV for raised, glossy detail against a matte background.
Embossing or debossing for tactile, dimensional branding.
Soft-touch lamination for a velvety, premium hand-feel.
Pro Tip: One restrained finish, such as a single foil logo against soft-touch lamination, almost always reads more premium than three competing effects fighting for attention on the same panel.
Matching printing methods to your box substrate
Substrate dictates method more than any other single factor. Folding cartons pair naturally with offset or digital printing. Corrugated board usually needs flexo or digital printing applied directly, or a litho-printed liner laminated on afterwards. Rigid boxes typically rely on offset printing plus a finishing layer, and flexible film packaging belongs to gravure or flexo.
Kraft and other natural stocks often need a white underprint beneath the artwork to stop colours looking muddy, since the brown base absorbs and dulls bright inks. Similarly, corrugated board frequently needs litho-lamination for genuinely premium graphics, because a press simply can’t print fine detail directly onto thick flute.
Folding cartons: offset or digital.
Corrugated: flexo, digital, or litho-laminated liner.
Rigid boxes: offset plus finishing.
Flexible film: gravure or flexo.
Pro Tip: Ask your printer whether crease lines risk cracking on your chosen stock before finalising artwork. This is a far cheaper fix at proof stage than after 500 boxes have been printed.
Comparing gift box printing methods at a glance
Method | Best For | Suitable Substrates | Ideal Run Size | Print Quality | Unit Cost Shape | Lead Time | Finish Options |
Flexo | Bulk corrugated and transit boxes | Corrugated, film, flexible pouches | Thousands upward | Good for bold, simple graphics | High at low volume, very low at scale | Moderate, improves with volume | Limited; usually paired with post-print finishing |
Offset (litho) | Premium folding cartons, photo-quality branding | Folding carton, litho-laminated corrugate | Hundreds to tens of thousands | Photographic grade | High setup, low per-unit at scale | Longer due to plate setup | Wide: varnish, spot UV, lamination |
Digital | Short runs, prototypes, personalisation | Folding carton, small corrugate | Units to low hundreds | Very good, slightly behind litho on spot colour | Flat cost per unit, no setup charge | Fast, often days | Growing range including digital UV |
Gravure | Ultra-high-volume flexible packaging | Film, some label stock | Millions | Continuous-tone, excellent | Very high setup, negligible at huge scale | Long cylinder lead time | Minimal; volume-focused |
Screen/Pad | Speciality inks, non-flat surfaces | Leatherette, acrylic, wood | Small to limited-edition batches | Bold solids, poor for photography | Moderate to high per unit | Slower per piece | Metallics, thick ink layers |
Getting your artwork print-ready: a prepress checklist
A clean brief saves more time than any other single decision in this process. Before sending files to a printer, work through this checklist:
Supply logos as vector files (AI, EPS or PDF), never as raster images that will pixelate when enlarged.
Provide photographic images at 300 dpi at final print size, not scaled up afterwards.
Specify exact Pantone numbers for any spot colours rather than leaving colour matching to guesswork.
Build files in CMYK unless you’re using dedicated spot inks throughout.
Include a dieline showing bleed and safe zones, so text and logos never sit dangerously close to a fold or trim edge.
Mark foil, varnish or embossing zones on a clearly labelled separate layer, not buried inside the main artwork.
Approve a digital proof first, then order a physical sample whenever colour accuracy genuinely matters.
The most common pitfalls are avoidable: RGB files sent by mistake, a missing dieline, or small text placed too close to a score line where it risks cracking during folding.
How to choose the right printing method for your gift boxes
Work through this sequence rather than picking a method on instinct:
Confirm your run size. Under a few hundred units generally points to digital; several thousand or more shifts the maths towards offset or flexo.
Confirm your substrate. Folding carton, corrugated, rigid box or film each narrows your realistic options immediately.
Rank your finish priorities. Decide whether foil, embossing or lamination matter more than raw print detail.
Set a target unit cost. This determines whether plate setup costs are worth absorbing.
Check lead time and sustainability preferences. Vegetable-oil-based inks and reduced plate waste matter more on some briefs than others.
Ask for a sample before committing to the full run. A proof on-screen never tells you how foil catches the light in someone’s hand.
If you’re negotiating price with a printer, ask directly about plate amortisation across future reorders and request their turnaround time in writing before you agree final artwork.
How Sayheygifting applies these printing methods in practice
Sayheygifting leans on digital printing for letterbox gifts and small-batch seasonal ranges, where speed and last-minute personalisation matter more than absolute colour precision. For ready-made corporate boxes that need consistent brand colour across a large order, offset printing paired with a single foil logo tends to strike the right balance.
The goal is always the same: match the method to the deadline and the finish that will actually be felt, not just seen. A rushed corporate gifting deadline rarely benefits from an over-engineered finish nobody has time to proof properly.
Author perspective: common trade-offs and mistakes to avoid
The most frequent error is embellishing a cheap stock with three finishes instead of one. A close second is skipping the physical proof entirely and hoping the screen colour matches Pantone on press. Brief your printer clearly, prioritise one standout finish, and always ask to see the stock before committing to a full run.
Ready to put these printing choices into a real gift box?
If you’ve read this far weighing up flexo against digital or wondering whether your folding carton needs litho-lamination, you already understand more about print methods than most people briefing a packaging supplier for the first time. Sayheygifting takes that decision off your plate entirely.
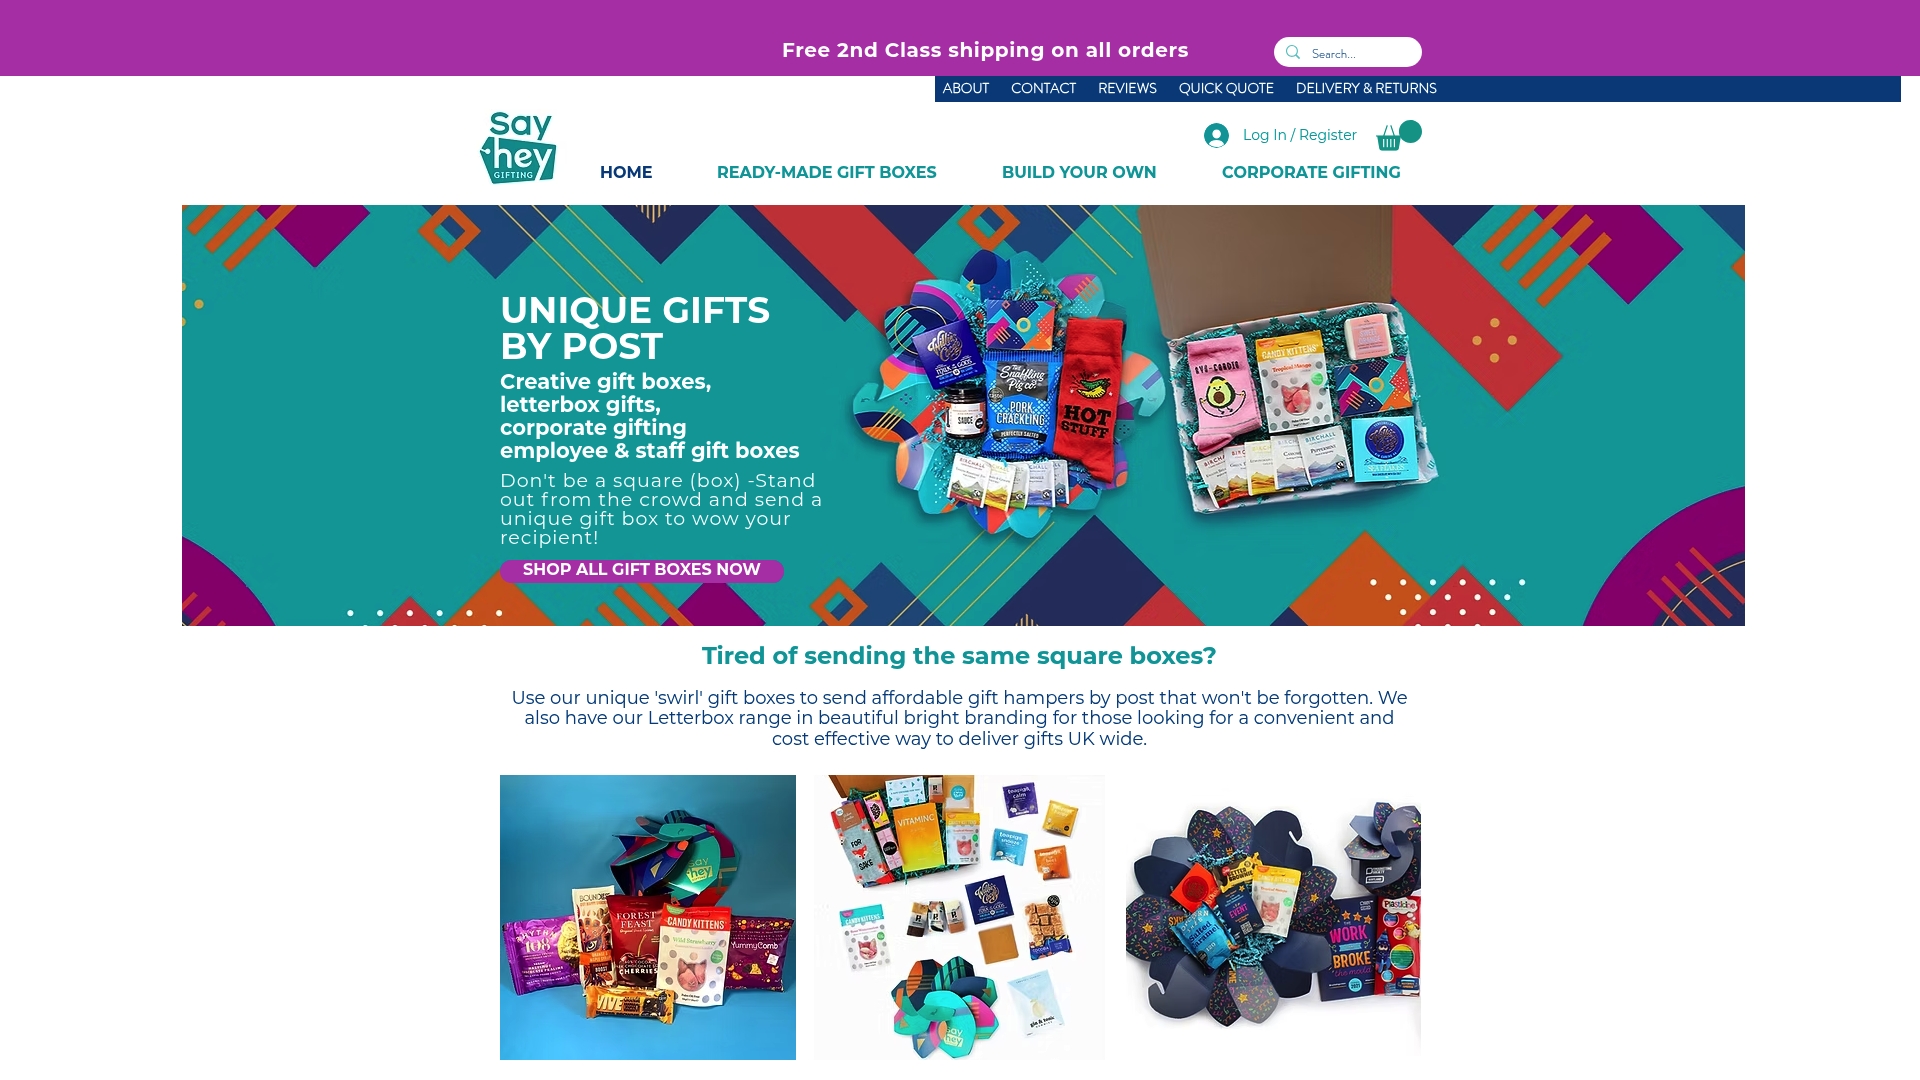
Rather than negotiating plate costs and minimum runs yourself, you can order employee gift boxes built with the right print and finish combination already chosen for you, whether that’s a digitally printed letterbox gift for a handful of new starters or an offset-printed corporate box with a foil logo for a company-wide rollout. Our build your own gift box tool lets you select packaging and contents without needing to understand anilox rollers or cylinder costs at all, and a sample can be arranged before you commit to a bulk order. Start building your box today and skip the print brief entirely.
Sources
FAQ
What are the main printing methods used for gift boxes?
The core methods are flexographic, offset (litho), digital, gravure, and screen or pad printing, with foil stamping and embossing added afterwards as finishing techniques rather than printing methods themselves.
How do people print designs directly onto boxes?
Printers either print flat sheets before the box is cut and glued, or print directly onto pre-formed boxes using digital or screen printing, depending on the substrate and order size.
Which printing method is cheapest for a small order?
Digital printing is almost always cheapest for small orders because it avoids plate setup costs entirely, making it ideal for personalised or seasonal gift boxes under a few hundred units.
Can Sayheygifting handle both small and bulk gift box orders?
Yes. Sayheygifting uses digital printing for small-batch letterbox gifts and offset printing with foil detailing for larger corporate orders needing consistent brand colour, as described earlier in this guide.
What’s the difference between offset and digital printing?
Offset uses metal plates and a rubber blanket for superior colour accuracy at volume, while digital printing skips plates entirely and prints straight from a file, making it faster and cheaper for short runs.
Recommended
Comments